Do you have a contact page or contact section on your single-page website?
If you publish your address, it is always a good idea to add also a map to enhance user experience and to increase awareness of your location or company address.
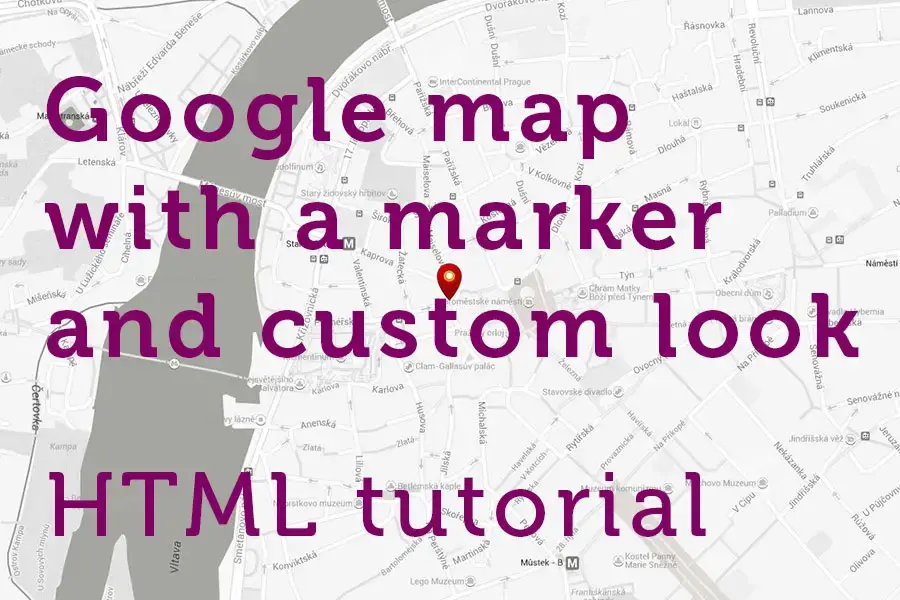
Today, I would like to show you how to easily add a custom-styled Google map to your website with a custom marker and info window that opens when the user clicks on the marker indicating your address. All you need is a little bit of time and basic HTML, CSS, and JavaScript knowledge.
So let's dive into it.
Google Maps API Key
Recently, Google has made changes in its API policies, so if you need the results of this tutorial to work on your own domain, you will need to create your own Google API key.
If you are going through this tutorial just for educational purposes, you can skip this step. Our API key included in the source codes should work on your computer without a problem.
To create an API Key, visit this page and click the Get a key button. The whole process of getting the API key will take just a minute or two.
All set? Let's move to the HTML template.
HTML template
As always, we will begin with the basic HTML template we will build on.
The template is quite basic:
- In the
head, we include a Bootstrap stylesheet, Montserrat from Google fonts, and localcustom.cssstylesheet. We will do our basic styling for this demo in this file. - the dummy texts are only for demo purposes there, there is no other reason to have them there
- Important is the presence of empty
div id="map". This is the container for our Google map - in front of the
<body>closing tag, we include jQuery, Bootstrap scripts, Google maps scripts and localcustom.jsfile. We will initiate the Google maps in this file. - if you have your own Google Maps API key from the previous step, replace it in the source code:
key=YOUR_KEY - for Bootstrap, jQuery and a Font Awesome I used their CDN versions. If you will test the scripts without an internet connection, don't forget to include their local versions
<html>
    <head>
        <title>Bootstrap & Google maps Tutorial by Bootstrapious.com</title>
        <meta charset="UTF-8">
        <meta name="viewport" content="width=device-width, initial-scale=1.0">
        <link href="https://maxcdn.bootstrapcdn.com/bootstrap/3.3.6/css/bootstrap.min.css" rel="stylesheet">
        <link href='https://fonts.googleapis.com/css?family=Montserrat:400,700' rel='stylesheet' type='text/css'>
        <link href='custom.css' rel='stylesheet' type='text/css'>
    </head>
    <body>

        <div class="container">

            <div class="row">

                <div class="col-lg-8 col-lg-offset-2">

                    <h1>Google maps & Bootstrap tutorial from <a href="http://bootstrapious.com">Bootstrapious.com</a></h1>

                    <p class="lead">This is a demo for our tutorial showing you how to add a custom styled Google maps into a Bootstrap page.</p>

                    <p>Pellentesque habitant morbi tristique senectus et netus et malesuada fames ac turpis egestas. Vestibulum tortor quam, feugiat vitae, ultricies eget, tempor sit amet, ante. Donec eu libero sit amet quam egestas semper. Aenean ultricies mi vitae est. Mauris placerat eleifend leo.</p>

                    <p><strong>Pellentesque habitant morbi tristique</strong> senectus et netus et malesuada fames ac turpis egestas. Vestibulum tortor quam, feugiat vitae, ultricies eget, tempor sit amet, ante. Donec eu libero sit amet quam egestas semper. <em>Aenean ultricies mi vitae est.</em> Mauris placerat eleifend leo. Quisque sit amet est et sapien ullamcorper pharetra. Vestibulum erat wisi, condimentum sed, <code>commodo vitae</code>, ornare sit amet, wisi. Aenean fermentum, elit eget tincidunt condimentum, eros ipsum rutrum orci, sagittis tempus lacus enim ac dui. <a href="#">Donec non enim</a> in turpis pulvinar facilisis. Ut felis.</p>

                </div>

            </div>

        </div>

        <div id="map"></div>

        <script src="https://code.jquery.com/jquery-1.12.0.min.js"></script>
        <script src="https://maxcdn.bootstrapcdn.com/bootstrap/3.3.6/js/bootstrap.min.js"></script>
        <script src="https://maps.googleapis.com/maps/api/js?key=AIzaSyBu5nZKbeK-WHQ70oqOWo-_4VmwOwKP9YQ"></script>
        <script src="custom.js"></script>
    </body>
</html>
That's all from HTML we will need today, let's move on to the JavaScript part.
JavaScript - Google Maps initialization
The most basic initialization of Google maps on our page is shown in the code block below.
Let me translate it to English a bit:
- when the page is loaded, the
initMap()function is called - this is done by the Google Maps'addDomListener()function - in this function, we declare the location we want to centre our map on - first number is the latitude, the second one is the longitude
- then we get the mapCanvas element. This is our
<div id="map">from the HTML code above. - we define some basic map options (zoom level, map type)
- and we create new Google maps object and pass our configuration to it in
new google.maps.Map(mapCanvas, mapOptions); - and google map is rendered to our page.
$(function () {
function initMap() {
var location = new google.maps.LatLng(50.0875726, 14.4189987);
var mapCanvas = document.getElementById('map');
var mapOptions = {
center: location,
zoom: 16,
panControl: false,
mapTypeId: google.maps.MapTypeId.ROADMAP
}
var map = new google.maps.Map(mapCanvas, mapOptions);
}
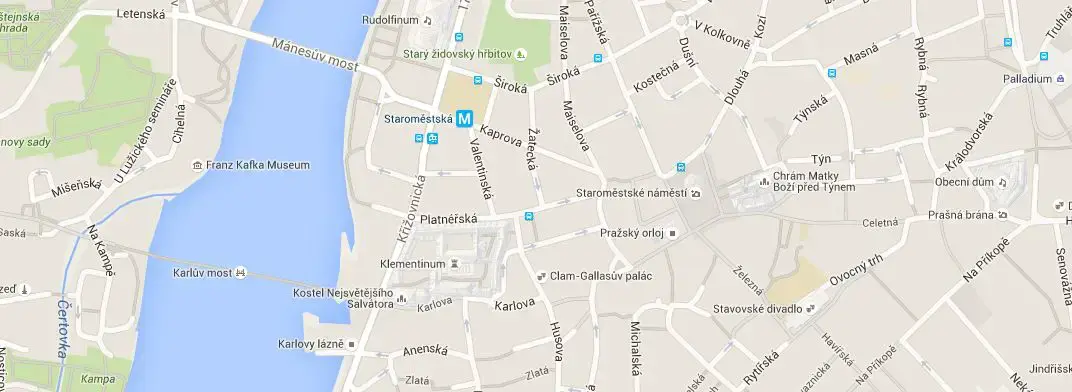
google.maps.event.addDomListener(window, 'load', initMap);
});Google map drawn by this code will look pretty basic but it is perfectly usable already. It will be centred on the Old Town Square in Prague and will look like this.
Adding Marker with custom icon and pop-up shown on click
We have the map being rendered, it is the right time to add a marker with a pop-up window to our map now.
We'll do it as follows:
- first, we define the file path to our marker icon in the
markerImagevariable. - then we add it to the map by calling
new google.maps.Marker; we will pass to it a location, a map object, and the path to the icon - then we define in the
contentStringvariable the content of the info window we want to be shown after the user clicks on the marker - now we create the info window object by calling
new google.maps.InfoWindow - the last thing we need to do is to link the info window to the marker and add a function that will wait to show it only after the user clicks on the marker -
marker.addListener
$(function () {
function initMap() {
var location = new google.maps.LatLng(50.0875726, 14.4189987);
var mapCanvas = document.getElementById('map');
var mapOptions = {
center: location,
zoom: 16,
panControl: false,
mapTypeId: google.maps.MapTypeId.ROADMAP
}
var map = new google.maps.Map(mapCanvas, mapOptions);
var markerImage = 'marker.png';
var marker = new google.maps.Marker({
position: location,
map: map,
icon: markerImage
});
var contentString = '<div class="info-window">' +
'<h3>Info Window Content</h3>' +
'<div class="info-content">' +
'<p>Pellentesque habitant morbi tristique senectus et netus et malesuada fames ac turpis egestas. Vestibulum tortor quam, feugiat vitae, ultricies eget, tempor sit amet, ante. Donec eu libero sit amet quam egestas semper. Aenean ultricies mi vitae est. Mauris placerat eleifend leo.</p>' +
'</div>' +
'</div>';
var infowindow = new google.maps.InfoWindow({
content: contentString,
maxWidth: 400
});
marker.addListener('click', function () {
infowindow.open(map, marker);
});
}
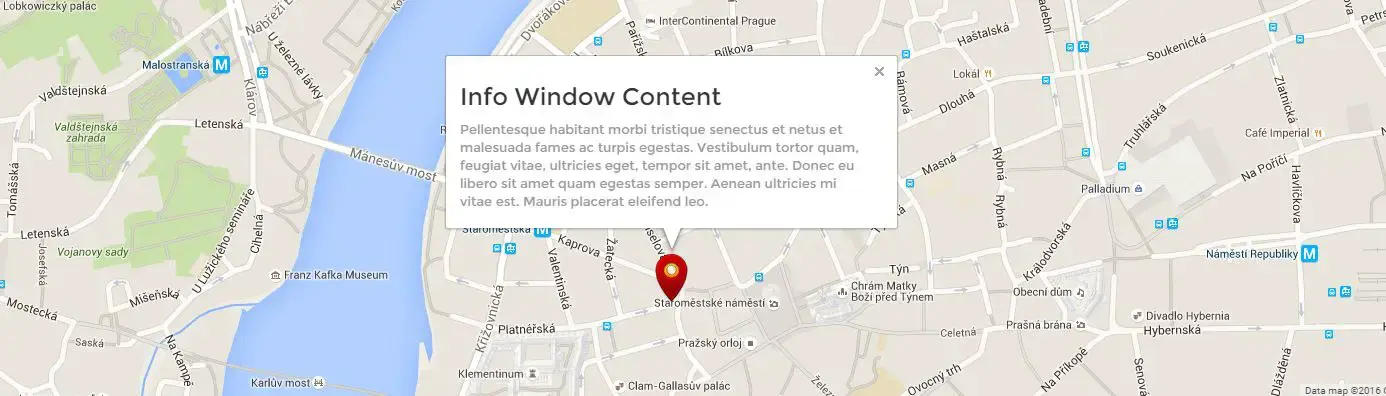
google.maps.event.addDomListener(window, 'load', initMap);
});Have a look at the result of these steps on the picture below.
Styling the Google map
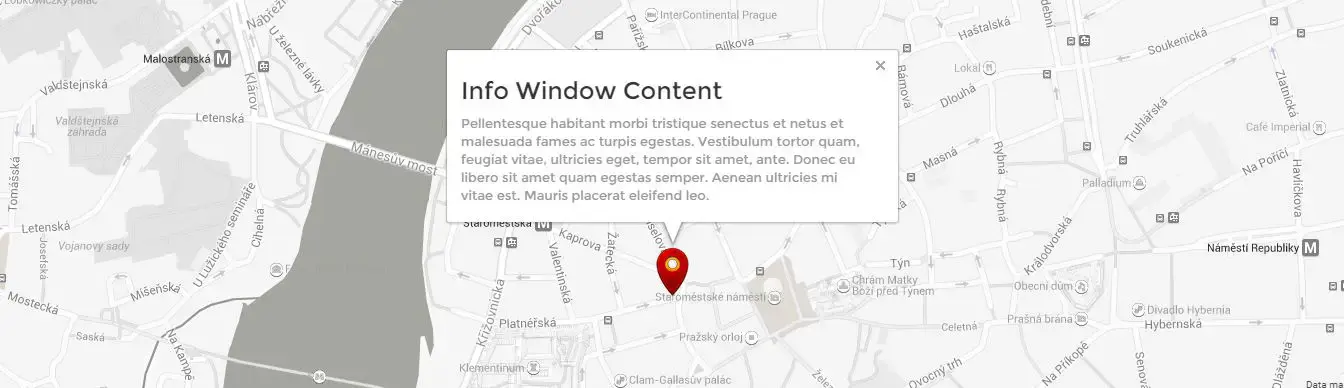
At this point, the only thing left, I wanted to show you today, is how to style the Google map. To give the map a grayscale look, we will add the following snippet of code to our initMap function.
var styles = [{"featureType": "landscape", "stylers": [{"saturation": -100}, {"lightness": 65}, {"visibility": "on"}]}, {"featureType": "poi", "stylers": [{"saturation": -100}, {"lightness": 51}, {"visibility": "simplified"}]}, {"featureType": "road.highway", "stylers": [{"saturation": -100}, {"visibility": "simplified"}]}, {"featureType": "road.arterial", "stylers": [{"saturation": -100}, {"lightness": 30}, {"visibility": "on"}]}, {"featureType": "road.local", "stylers": [{"saturation": -100}, {"lightness": 40}, {"visibility": "on"}]}, {"featureType": "transit", "stylers": [{"saturation": -100}, {"visibility": "simplified"}]}, {"featureType": "administrative.province", "stylers": [{"visibility": "off"}]}, {"featureType": "water", "elementType": "labels", "stylers": [{"visibility": "on"}, {"lightness": -25}, {"saturation": -100}]}, {"featureType": "water", "elementType": "geometry", "stylers": [{"hue": "#ffff00"}, {"lightness": -25}, {"saturation": -97}]}];

map.set('styles', styles);
A great resource for Google maps themes is Snazzy Maps website.
Conclusion
This should be all for today. I hope you enjoyed this Bootstrap tutorial and learned a couple of interesting things in the process!
If you liked the tutorial, don't forget to share it with your friends!
To boost your coding skills, even more, have a look at my contact form tutorial or at the Bootstrap carousel tutorial.